Found
Texts
Transliteration
§A ??? §B ??? §C ??? §D ??? §E ??? §F ???
Normalisation (Old Norse)
§A ... §B ... §C ... §D ... §E ... §F ...
Normalisation (Scandinavian)
§A ... §B ... §C ... §D ... §E ... §F ...
Translation (English)
§A ... §B ... §C ... §D ... §E ... §F ...
Location
- Found location
- Sandakerveien
- Current location
- Oldsaksamlingen (nr. C25842)
- Parish
- Oslo
- Municipality
- Oslo
- Oldest known latitude and longitude
- 59.934900, 10.762300
Classification
- Carver
- —
- Number of crosses
- 0
- Cross form
- —
- Rune type
- rune-like signs
- Style
- —
- Dating
- ?
References
Images
-
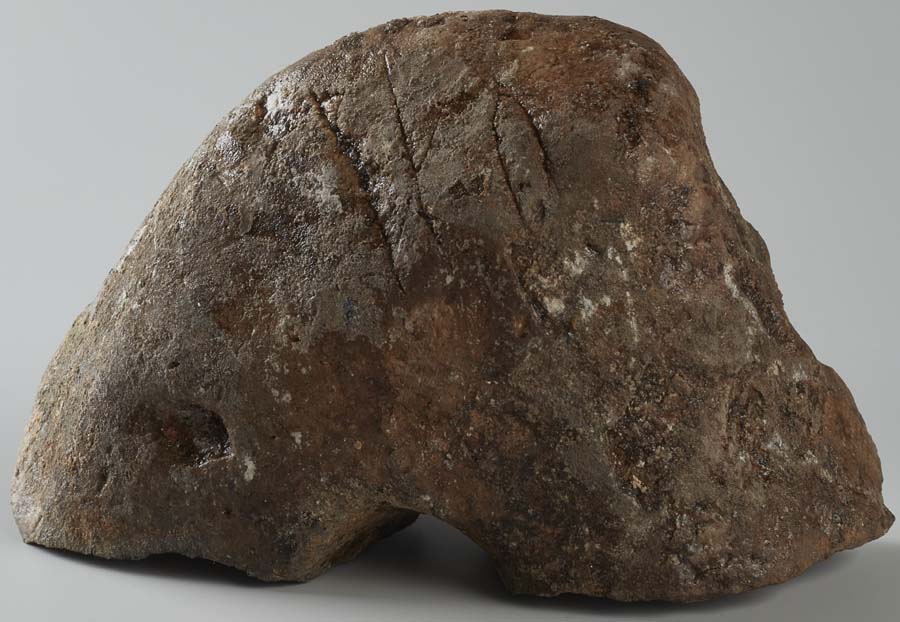 Image of the object. Photo: Ulla Schildt, Kulturhistorisk museum. CC-BY-SA 4.0
source: https://www.arild-hauge.com/Futhark/C33270-G03157_Mindets_tomt.jpg
-
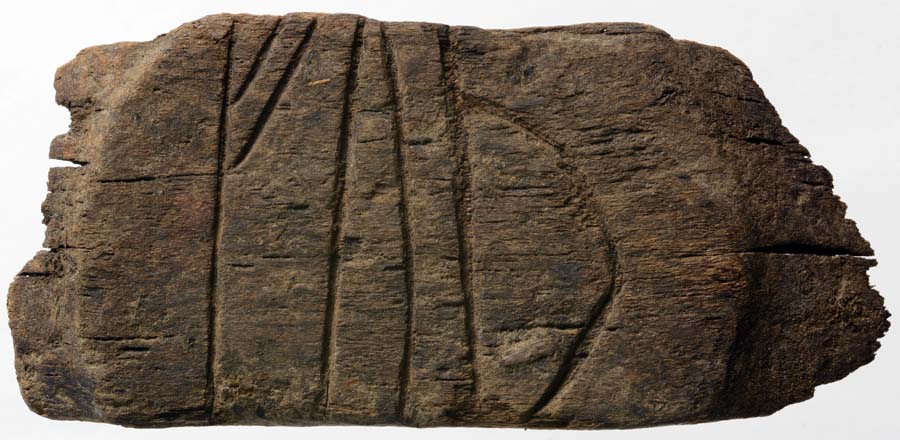 Image of the object. Photo: Vegard Vike, Kulturhistorisk museum. CC-BY-SA 4.0
source: https://www.arild-hauge.com/Futhark/C59886-027-BISPEGATA_Futh.jpg
-
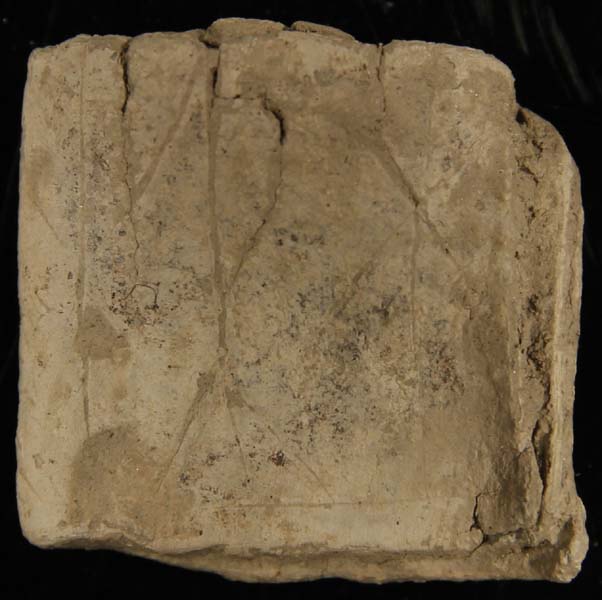 Image of side A of the object. Photo: Birgit Maixner, Kulturhistorisk museum. CC-BY-SA 4.0
source: https://www.arild-hauge.com/Futhark/C59942_ABILDSOe-myth-1.jpg
-
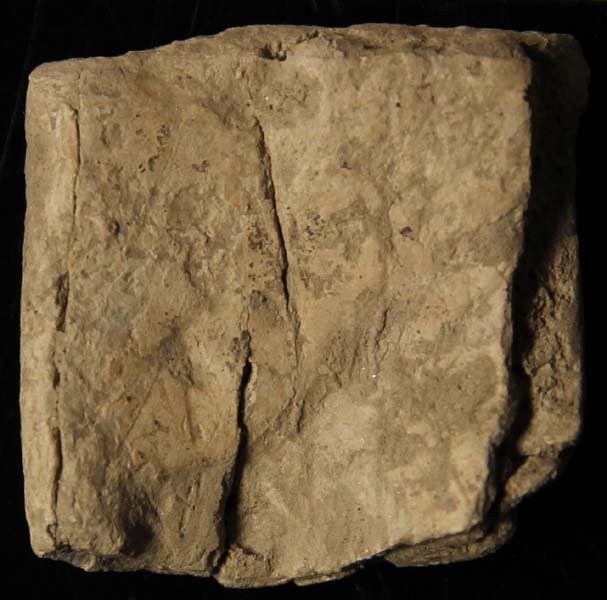 Image of side B of the object. Photo: Birgit Maixner, Kulturhistorisk museum. CC-BY-SA 4.0
source: https://www.arild-hauge.com/Futhark/C59942_ABILDSOe-myth-2.jpg
-
 Close-up of the runic inscription on the object. Photo: Rachel Altpeter, Kulturhistorisk museum. CC-BY-SA 4.0
source: https://www.arild-hauge.com/Futhark/C59886-028-GAMLEBYEN_bitir-runer1.jpg
-
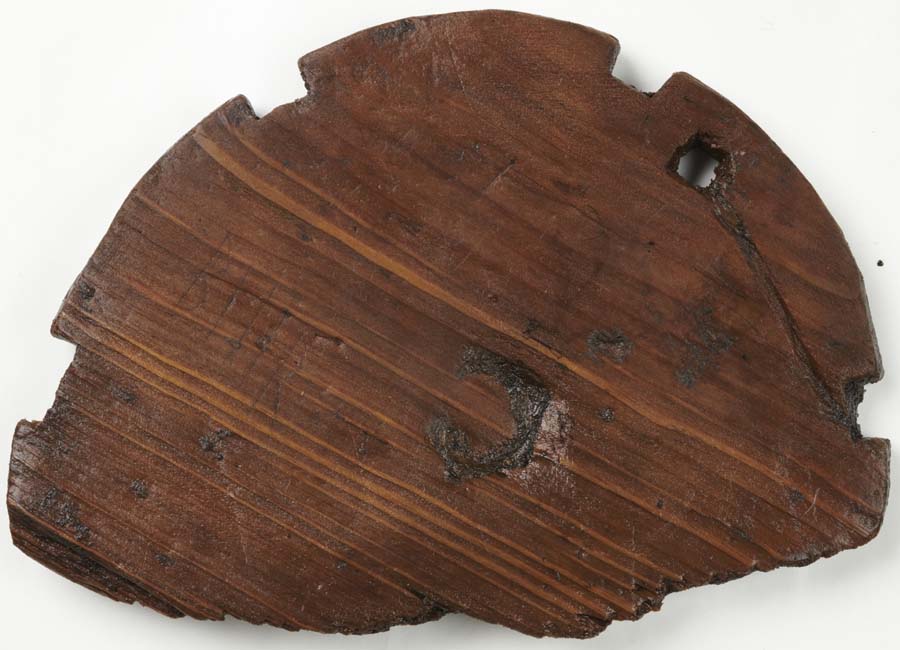 Image of the object. Photo: Rachel Altpeter, Kulturhistorisk museum. CC-BY-SA 4.0
source: https://www.arild-hauge.com/Futhark/C59886-028-GAMLEBYEN_bitir.jpg
-
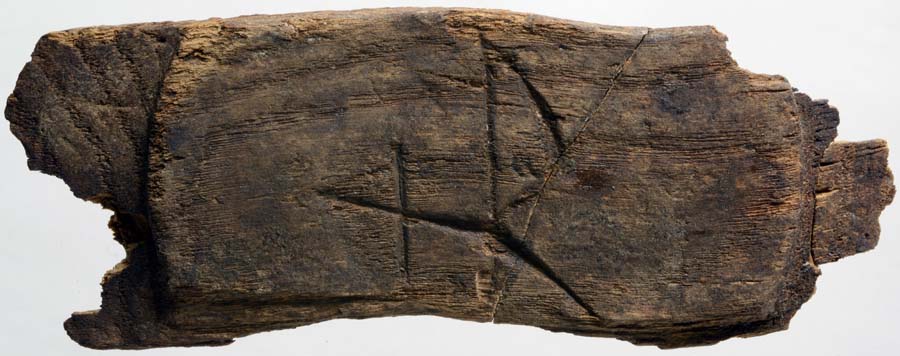 Image of the object. Photo: Vegard Vike, Kulturhistorisk museum. CC-BY-SA 4.0
source: https://www.arild-hauge.com/Futhark/C60006-031_BISPEGATA_+R.jpg
-
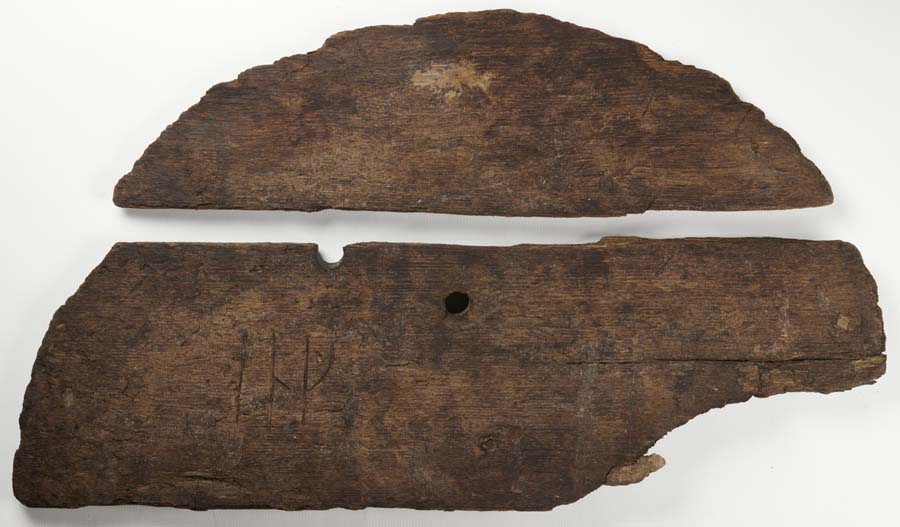 Image of the object. Photo: Rachel Altpeter, Kulturhistorisk museum. CC-BY-SA 4.0
source: https://www.arild-hauge.com/Futhark/C60005-083_BISPEGATA_ing.jpg
-
 Close-up of the runic inscription on the object. Photo: Rachel Altpeter, Kulturhistorisk museum. CC-BY-SA 4.0
source: https://www.arild-hauge.com/Futhark/C60005-083_BISPEGATA_ing_rune.jpg
-
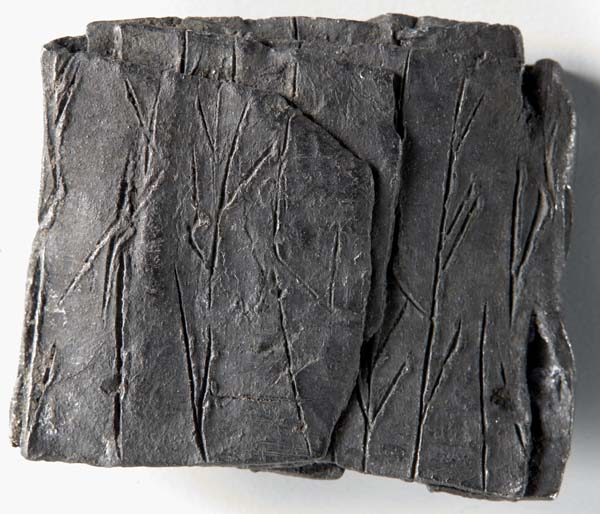 Image of the object. Photo: Kirsten Helgeland, Kulturhistorisk museum. CC-BY-SA 4.0
source: https://www.arild-hauge.com/Futhark/C60965-037_BISPEGATA_aoriliainna-1.jpg
-
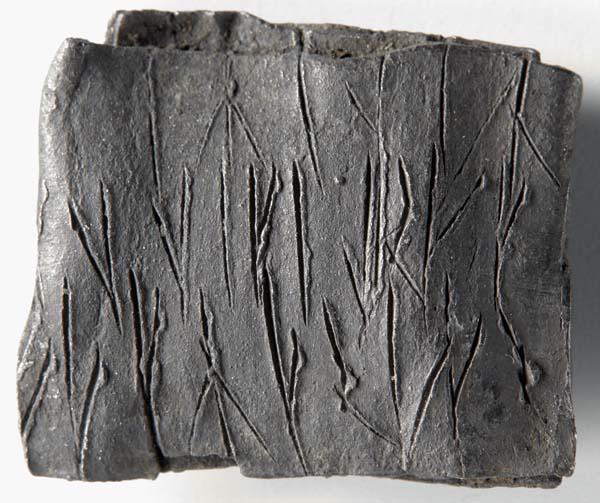 Image of the object. Photo: Kirsten Helgeland, Kulturhistorisk museum. CC-BY-SA 4.0
source: https://www.arild-hauge.com/Futhark/C60965-037_BISPEGATA_aoriliainna-2.jpg
-
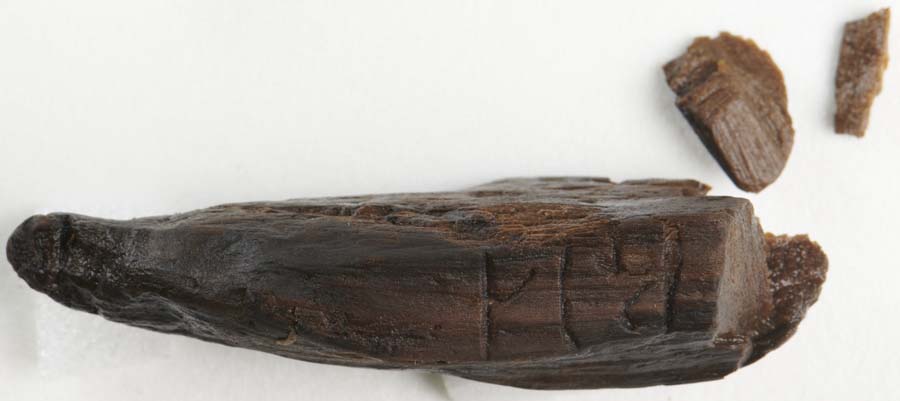 Image of the object. Photo: Emma Emanuelsson, Kulturhistorisk museum. CC-BY-SA 4.0
source: https://www.arild-hauge.com/Futhark/C60966-068_BISPEGATA_kia.jpg
-
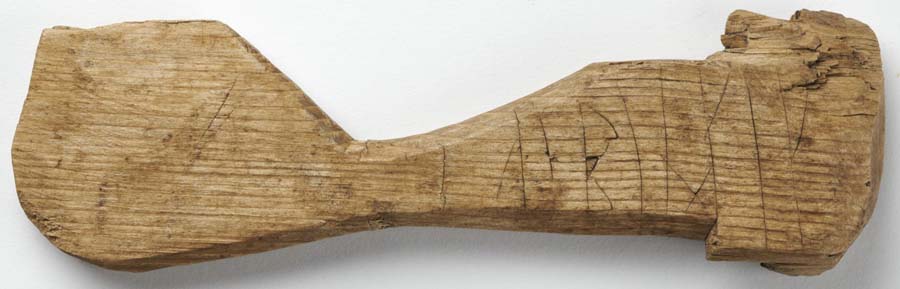 Image of the object. Photo: Rachel Altpeter, Kulturhistorisk museum. CC-BY-SA 4.0
source: https://www.arild-hauge.com/Futhark/C64430-69_MIDDELALDERPARKEN_iasbina_amik.jpg
-
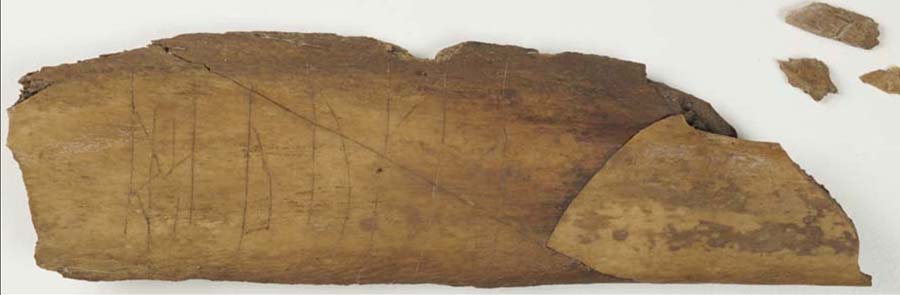 Image of the object. Photo: Birgit Wilster Hansen, Kulturhistorisk museum. CC-BY-SA 4.0
source: https://www.arild-hauge.com/Futhark/C64430-156_MIDDELALDERPARKEN_ratthueta.jpg
-
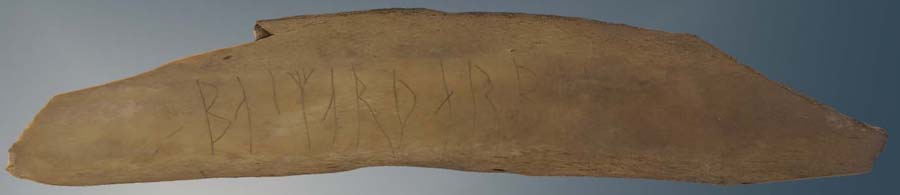 Image of the object. Photo: Jani Causevic, NIKU. (Screenshot from a 3D model by NIKU). CC-BY-SA 4.0
source: https://www.arild-hauge.com/Futhark/C64430-156_ MIDDELALDERPARKEN_A.jpg
-
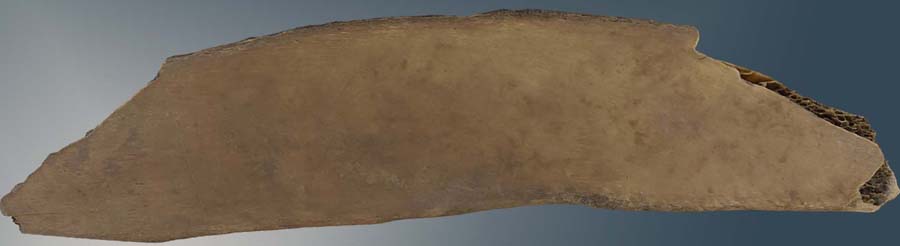 Image of the object. Photo: Jani Causevic, NIKU. (Screenshot from a 3D model by NIKU). CC-BY-SA 4.0
source: https://www.arild-hauge.com/Futhark/C64430-156_ MIDDELALDERPARKEN_B.jpg
-
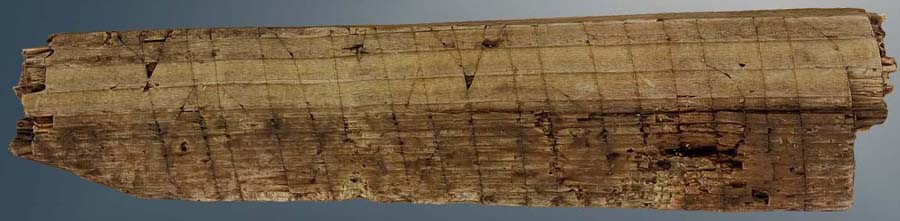 Image of the object. Photo: Jani Causevic, NIKU. (Screenshot from a 3D model by NIKU). CC-BY-SA 4.0
source: https://www.arild-hauge.com/Futhark/FT7377_MIDDELALDERPARKEN_B.jpg
-
 Image of the object. Photo: Jani Causevic, NIKU. (Screenshot from a 3D model by NIKU). CC-BY-SA 4.0
source: https://www.arild-hauge.com/Futhark/FT7377_MIDDELALDERPARKEN_C.jpg
-
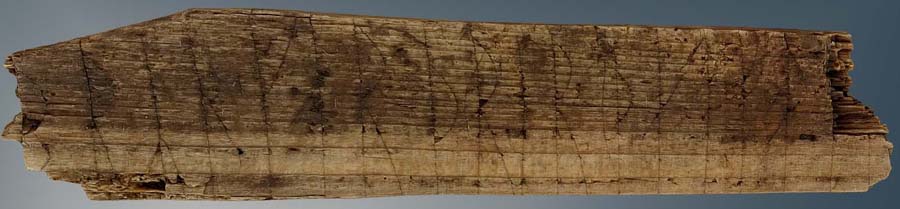 Image of the object. Photo: Jani Causevic, NIKU. (Screenshot from a 3D model by NIKU). CC-BY-SA 4.0
source: https://www.arild-hauge.com/Futhark/FT7377_MIDDELALDERPARKEN_A.jpg
-
 Image of the object. Photo: Ellen C. Holte, Kulturhistorisk museum (reproduction from a book). CC-BY-SA 4.0
source: https://www.arild-hauge.com/Futhark/Ny mappe/KLEBERSTEN_RYEN_OSLO.jpg
-
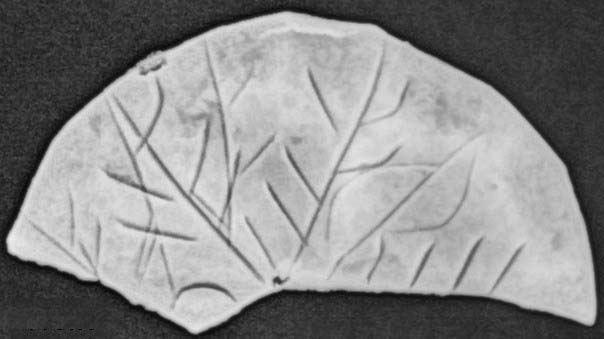 Image of the object. Photo: Unknown, Kulturhistorisk museum. CC-BY-SA 4.0
source: https://www.arild-hauge.com/Futhark/C64430-21_MIDDELALDERPARKEN_amulett.jpg
-
 Image of the object. Photo: Emma Emanuelsson, Kulturhistorisk museum. CC-BY-SA 4.0
source: https://www.arild-hauge.com/Futhark/C60966_185_BISPEGATA_ærg_na.jpg
-
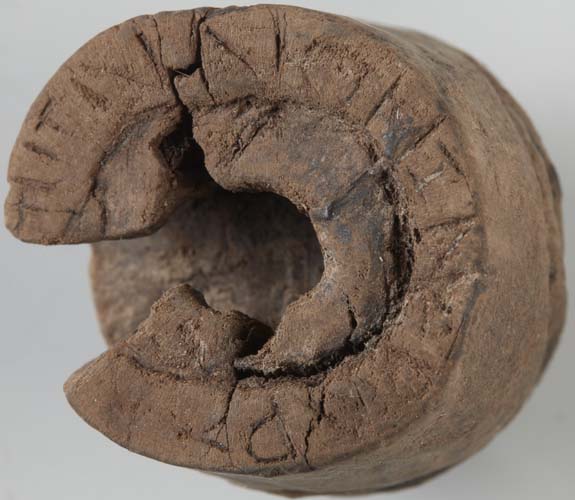 Image of the object. Photo: Ulla Schildt, Kulturhistorisk museum. CC-BY-SA 4.0
source: https://www.arild-hauge.com/Futhark/C33448-G05079_MINDETS_TOMT_spillebrikke-2.jpg
-
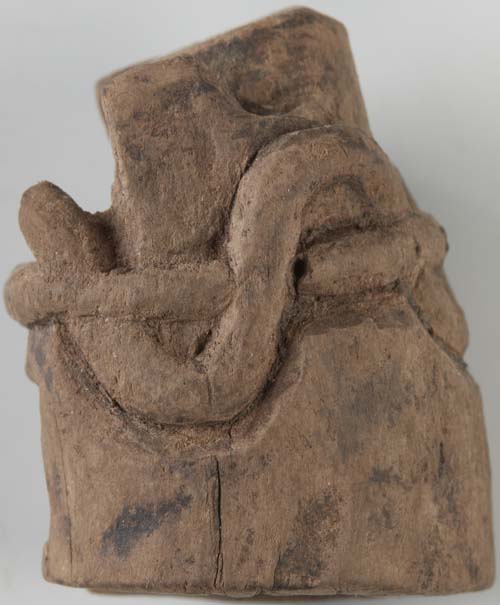 Image of the object. Photo: Ulla Schildt, Kulturhistorisk museum. CC-BY-SA 4.0
source: https://www.arild-hauge.com/Futhark/C33448-G05079_MINDETS_TOMT_spillebrikke-1.jpg
-
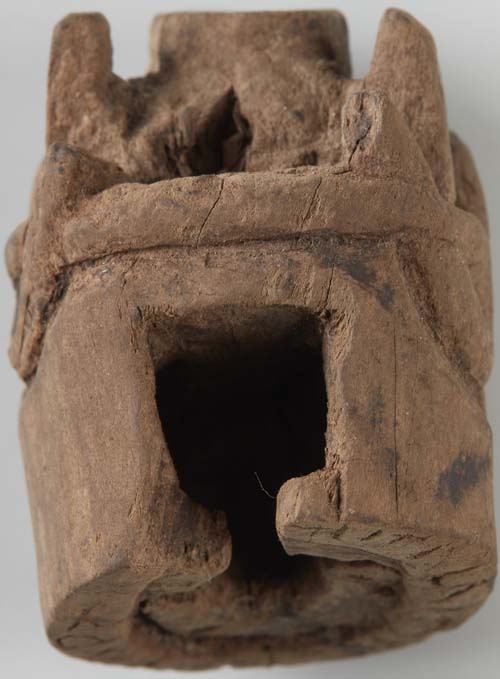 Image of the object. Photo: Ulla Schildt, Kulturhistorisk museum. CC-BY-SA 4.0
source: https://www.arild-hauge.com/Futhark/C33448-G05079_MINDETS_TOMT_spillebrikke-3.jpg
-
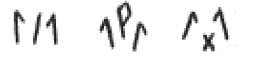 Image shown in the inscription section (no separate image caption provided).
source: https://www.arild-hauge.com/runer.ku.dk/N_A353_SANDAKERVEIEN_Runeinnskrift.jpg
-
 Image shown in the inscription section (no separate image caption provided).
source: https://www.arild-hauge.com/runer.ku.dk/C64430-156_ulbr_MIDDELALDERPARKEN.jpg
-
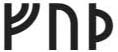 Image shown in the inscription section (no separate image caption provided).
source: https://www.arild-hauge.com/runer.ku.dk/SVINGERUDSTEINEN_FUTH.jpg
-
 Image shown in the inscription section (no separate image caption provided).
source: https://www.arild-hauge.com/runer.ku.dk/C34182-G19101_ai_ti_oi_SOeNDRE FELT.jpg
-
 Image shown in the inscription section (no separate image caption provided).
source: https://www.arild-hauge.com/runer.ku.dk/C60966-069_BISPEGATA_iiiiiia_Runeinnskrift.jpg
-
 Image shown in the inscription section (no separate image caption provided).
source: https://www.arild-hauge.com/runer.ku.dk/C60965-097_BISPEGATA_udr_polRuneinnskift.jpg
-
 Image shown in the inscription section (no separate image caption provided).
source: https://www.arild-hauge.com/runer.ku.dk/C60964-081_BISPEGATA_pro_Runeinnskrift.jpg
-
 Images and text about the object from the Unimus portal. ⇗
source: https://www.arild-hauge.com/runer.ku.dk/C33270-G03157_Mindets_tomt_Runeinnskrift.jpg
-
 Image shown in the inscription section (no separate image caption provided).
source: https://www.arild-hauge.com/runer.ku.dk/N_B250_SOeNDRE_GULLSKOEN_Runeinnskrft.jpg
-
 Images and text about the object from the Unimus portal. ⇗
source: https://www.arild-hauge.com/runer.ku.dk/C59942_ABILDSOe-myth_Runeinnskrift.jpg
-
 Image shown in the inscription section (no separate image caption provided).
source: https://www.arild-hauge.com/runer.ku.dk/C59886-028-GAMLEBYEN_bitir_Runeinnskrift.jpg
-
 Images and text about the object from the Unimus portal. ⇗
source: https://www.arild-hauge.com/runer.ku.dk/C60006-031_BISPEGATA_+R_Runeinnskrift.jpg
-
 Image of the object. Photo: Rachel Altpeter, Kulturhistorisk museum. CC-BY-SA 4.0 ⇗
source: https://www.arild-hauge.com/runer.ku.dk/C60005-083_BISPEGATA_ing_Runeinnskrift.jpg
-
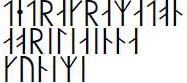 Image shown in the inscription section (no separate image caption provided).
source: https://www.arild-hauge.com/runer.ku.dk/C60965-037_BISPEGATA_aoriliainna_Runeinnskift.jpg
-
 Images and text about the object from the Unimus portal. ⇗
source: https://www.arild-hauge.com/runer.ku.dk/C60966-068_BISPEGATA_kia_Runeinnskrift.jpg
-
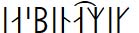 Image shown in the inscription section (no separate image caption provided).
source: https://www.arild-hauge.com/runer.ku.dk/C64430-69_MIDDELALDERPARKEN_iasbina_amik_Runeinnskrift.jpg
-
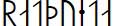 Image shown in the inscription section (no separate image caption provided).
source: https://www.arild-hauge.com/runer.ku.dk/C64430-156_MIDDELALDERPARKEN_ratthueta_Runeinnskrift.jpg
-
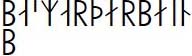 Image shown in the inscription section (no separate image caption provided).
source: https://www.arild-hauge.com/runer.ku.dk/C64430-156_ MIDDELALDERPARKEN_Runeinnskrift.jpg
-
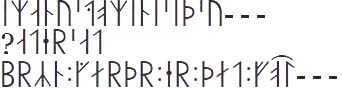 Image shown in the inscription section (no separate image caption provided).
source: https://www.arild-hauge.com/runer.ku.dk/FT7377_MIDDELALDERPARKEN_Runeinnskrift.jpg
-
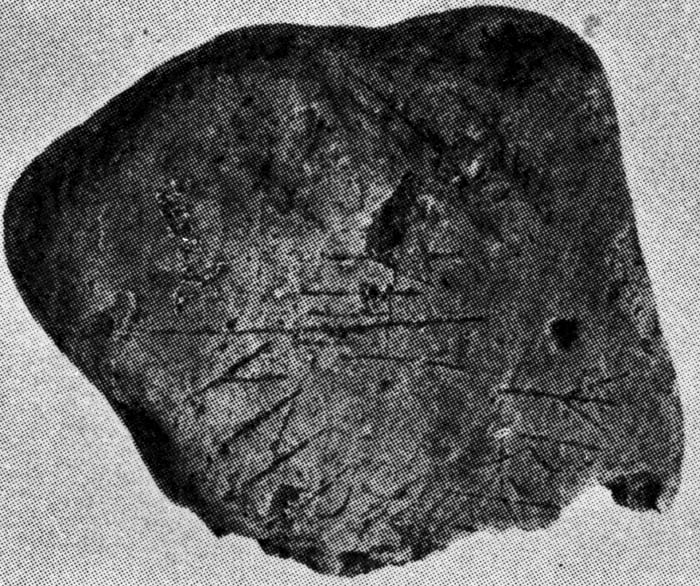 Photo: Ellen C. Holte, Kulturhistorisk museum (reproduction from a book). CC-BY-SA 4.0
source: https://www.arild-hauge.com/Futhark/KLEBERSTEN_RYEN_OSLO.jpg
-
 Images and text about the object from the Unimus portal. ⇗
source: https://www.arild-hauge.com/runer.ku.dk/KLEBERSTEN_RYEN_OSLO.jpg
-
 Image shown in the inscription section (no separate image caption provided).
source: https://www.arild-hauge.com/runer.ku.dk/C64430-163_Middelalderparken_a-rune.jpg
-
 Image shown in the inscription section (no separate image caption provided).
source: https://www.arild-hauge.com/runer.ku.dk/C64430-81_MIDDELALDERPARKEN_ave_maria_Runeinnskrift.jpg
-
 Photo: Emma Emanuelsson, Kulturhistorisk museum. CC-BY-SA 4.0
source: https://www.arild-hauge.com/Futhark/C60966_185_BISPEGATA_erg_na.jpg
-
 Image shown in the inscription section (no separate image caption provided).
source: https://www.arild-hauge.com/runer.ku.dk/C60966_185_BISPEGATA_erg_na_Runeinnskrift.jpg
-
 Image shown in the inscription section (no separate image caption provided).
source: https://www.arild-hauge.com/runer.ku.dk/C64430-69_MIDDELALDERPARKEN_Runeinnskrift.jpg